The tactical map is where an IRON NEST order stops being text and becomes a firing solution. It uses a 20×10 main grid: columns run from A to T, rows run from 1 to 10, and row 1 sits at the bottom of the map. Each large cell contains its own 10×10 sub-grid whose coordinates begin at zero, so a full position reads like F10 8:0 — cell F10, sub-cell 8:0.
Every bearing, distance and firing calculation on the other stations is measured from this map. Spotter reports become lines and circles here, solved targets become red tokens here, and only the final red line drawn from your Iron Nest token to the target supplies the bearing and range the gun actually uses.
Read the grid coordinates
Columns are lettered A through T and rows are numbered 1 to 10, with row 1 at the bottom. Zoom into any large square and the sub-grid runs from zero to nine, left to right and bottom to top. Because sub-cell coordinates begin at zero, the first sub-cell inside a cell is 0:0, not 1:1.
Combine the cell and the sub-cell to write a complete position. A spotter reported at A2 5:2 sits in cell A2, five sub-cells across and two up, while D8 8:8 sits near the top-right corner of D8. An error of one sub-cell can distort every later bearing, distance and firing calculation, so read each coordinate twice before placing anything on the board.
Place your tokens first
At the start of a mission, place the Iron Nest, your Spotters and your Reference Points before you process any incomplete intelligence. The Iron Nest token marks your current firing origin, blue tokens 1–4 mark Spotters, green tokens A–C mark Reference Points, and red numbered tokens mark solved enemy positions. A red skull later confirms a destroyed enemy; a blue skull warns that a friendly unit was also hit.
Do not trust where the Iron Nest token starts. The mission printout states the actual location, and the token on the map can begin in the wrong place, so move it and set the pointer in the center of the correct sub-cell. Whenever the Iron Nest moves, a message tells you where it has gone — read that message before measuring anything new.
Spotter tokens deserve the same care, because target bearings are drawn from them. If a report says a target is 90 degrees from spotter three and that token sits one cell off, the line lands one cell off and you shell empty ground. Double-check each token against its report coordinate while there is no pressure.
The pencil and compass tools
The map gives you three pencils, and the colors have jobs. The white pencil draws plain construction lines, removed with a right-click. The yellow pencil is the workhorse: any line drawn with it shows its bearing and distance. The red pencil is reserved for solved targets — drawn from the Iron Nest, it copies the bearing and range to your clipboard for the gun and the calculator. Keeping final fire data in red and temporary construction lines in white or yellow is what keeps a busy map readable.
The compass tool handles distance reports. Select it, place it on the named observer, pull it in the required direction and set the stated distance to draw a circle at exactly that range. A map icon key sits on the map itself if you forget what a symbol means, and reset buttons clear all tokens or all measurements when a mission ends.
A separate tool lists ammunition types along its side and previews their effect: slide it over a target cluster to see how much damage a shell would do and how large the crater would be. The video tutorial demonstrates armor-penetrating and high explosive rounds this way, and the Nest Run guide describes the same idea as an Iris check for effect radius and collateral risk. It is the quickest way to judge whether one shell can cover two close targets — our shell types guide covers what each round is for.
Plot targets from reports
Bearing reports become straight lines. Find the named Spotter or Reference Point, draw a yellow line at the stated bearing, and run it long — to the edge of the map if no distance is given. Where two bearing lines cross, you have a target candidate: in the tutorial, target one falls where 213 degrees from reference point alpha meets 115 degrees from spotter three.
Distance reports become circles: place the compass on the named observer and set the stated range. Two circles, or one circle and one bearing line, give you candidate intersections. The tutorial plots reference point alpha itself from a bearing of 65 degrees from spotter one and a distance of 14.01 km from spotter two — the token goes where the line meets the circle, then the construction lines are deleted and cleared from the clipboard.
When the evidence stays incomplete, the Nest Run guide recommends separating the order text from the map evidence, marking all candidate zones, measuring and documenting the uncertainty, and choosing a first shot that will create useful correction information. Its summary of the workflow is blunt: the map constructs the firing solution, and the gun controls merely execute it. For the crossing-lines method in more depth, see how to triangulate.
The final firing line
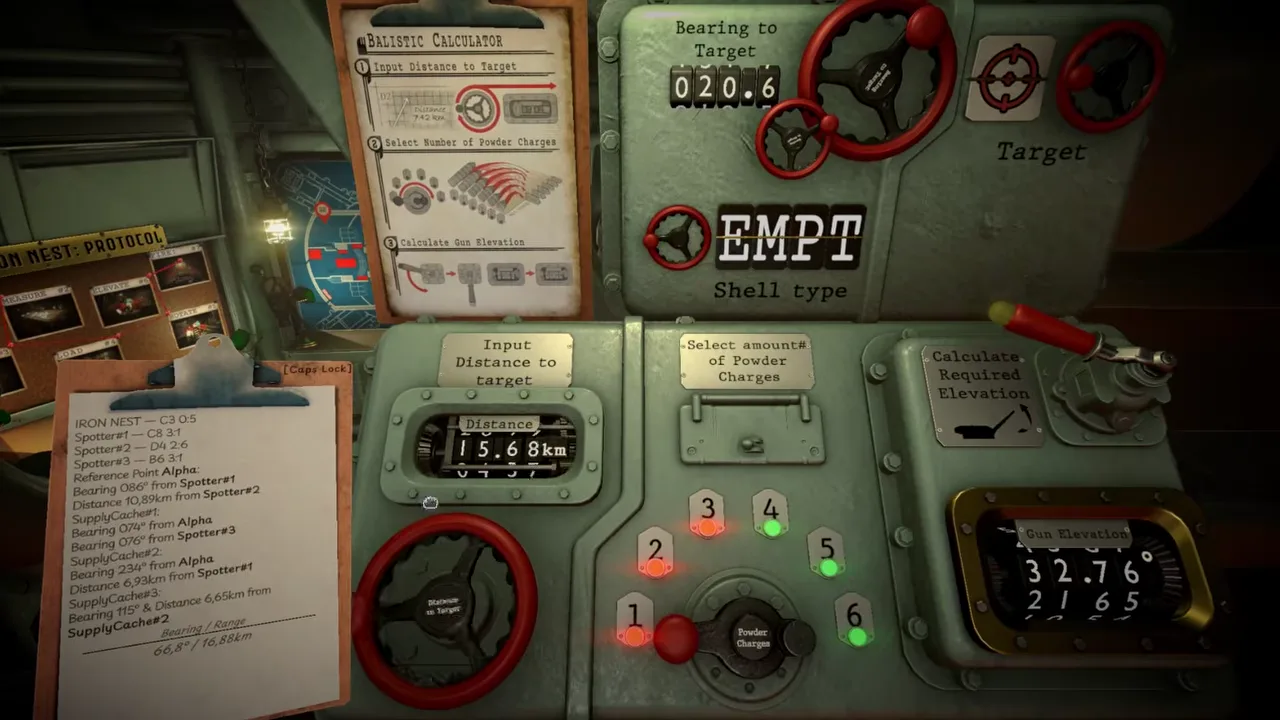
Once a target is solved, draw one final red line from the Iron Nest token to the target token. Only this line supplies the bearing and range used by the gun and the ballistic calculator — construction lines from spotters are evidence, not firing data. Those two clipboard numbers are what you carry to the ballistic calculator to get your elevation.
Housekeeping is part of accuracy. Remove obsolete lines and clipboard entries as you go, and never let a temporary intelligence measurement survive into the firing sequence as if it were final data. A cluttered map invites the one mistake this procedure punishes hardest: firing yesterday’s solution at today’s target.
Common map mistakes
The failure list is short and worth memorizing:
- Wrong origin. Measuring from a spotter when the gun needs the Iron Nest, or the reverse.
- Stale Iron Nest token. Forgetting to move it after an Emergency Move, so every later measurement starts from the old position.
- Construction line as firing data. Copying a temporary intelligence measurement instead of drawing the final red line.
- Sloppy sub-cells. Placing a token one sub-cell off and distorting every downstream bearing and distance.
- Clutter. Leaving dead lines and clipboard entries on the map until you cannot tell evidence from solution.
One caveat on sources: the map-tools tutorial was recorded on the demo version, and its author notes that details may change while the fundamentals of the map should stay the same. If a control behaves differently in the current build, trust the build and verify on the map itself.
Frequently asked questions
How do IRON NEST map coordinates work?
Columns run A to T and rows 1 to 10, with row 1 at the bottom. Each cell holds a 10x10 sub-grid starting at zero, so a full position reads like F10 8:0.
Which map line gives the firing data?
Only the final red line drawn from the Iron Nest token to the target. Its bearing and range are copied to the clipboard for the gun and the ballistic calculator.
What do the skull tokens mean on the Iron Nest map?
A red skull confirms a destroyed enemy. A blue skull means a friendly unit was also hit.