
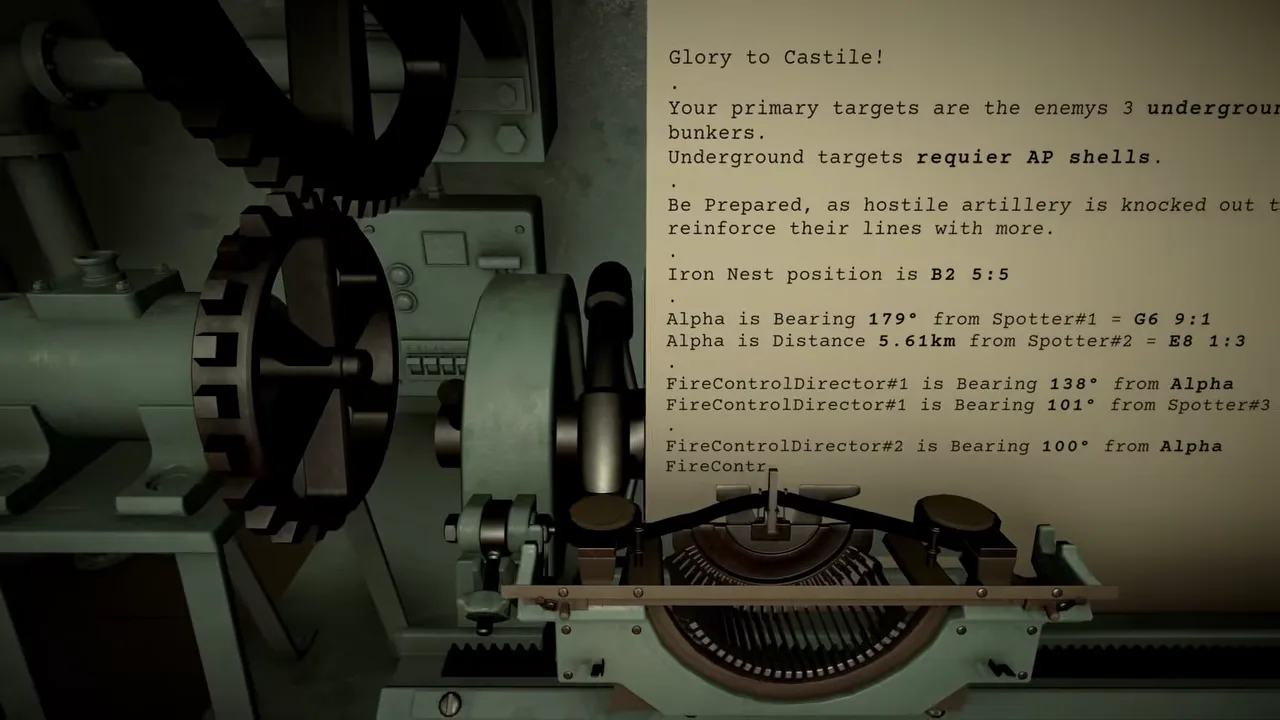
IRON NEST: Heavy Turret Simulator runs a 15-mission campaign in a fixed order, from Mission 1 — Calibration Fire through Mission 15 — White Shells. Every mission is solved with the same firing loop — read, locate, calculate, prepare, fire, confirm — but each operation changes the targeting problem: triangulation, moving trains, hidden batteries, timed firing restrictions, and eventually two guns that have to be managed as separate firing states.
The full list below covers all fifteen missions in unlock order with what each one demands. One full-version playthrough estimates the campaign at roughly 8 to 12 hours, and a separate Challenge Mode sits alongside it.
How the campaign is structured
The fifteen missions unlock sequentially, and each one layers a new complication on top of the shared loop. Mission 1 is a clean calibration shot with no timer; by the late campaign you are juggling moving targets, a Counter-Battery Timer, live support calls, and stand-down decisions. The campaign hub groups them as the early campaign (Missions 2–7), mid campaign (Missions 8–10), late campaign (Missions 11–14), and the finale.
One caution before copying any walkthrough: exact coordinates, bearings, ranges, and elevations can change between operations. Published mission guides use real completed-run values to show what a valid solution looks like, but the reusable answer is the route that produced those numbers, not the numbers themselves.
A naming note: one fan field manual lists the opening mission as ‘False Flag and Fireworks’ and describes a two-phase combat-then-illumination route, while other sources and release gameplay footage show Calibration Fire as Mission 1 and the illumination work arriving in Mission 2.
Early campaign: Missions 1–7
- Mission 1 — Calibration Fire. The commissioning range shot. Confirmation of fire accuracy against a designated target is the sole objective, with no time restraint. It teaches the basic loop: draw the line from Iron Nest to the target, choose charges and elevation, load HE, fire, and wait for confirmation.
- Mission 2 — Fire and Light. Triangulate a hostile element from two spotter bearings, clear a follow-up pair revealed in reconnaissance photos, then switch to Star Shells for a celebratory illumination corrected by a ground observer. It is the first mission that punishes treating a spotter bearing as a turret bearing.
- Mission 3 — Liberation. Retake an occupied city: destroy five hostile infantry units inside a designated urban sector, run a reconnaissance flight over grid P4, then neutralize an underground ammunition cache with AP ordnance — all while avoiding friendly and civilian markers. Requisition procurement is authorized from this point.
- Mission 4 — Counter-Battery. Pre-calculate the opening batteries, manage the Counter-Battery Timer, then locate the fresh artillery position.
- Mission 5 — Iron Road. Intercept a moving train, destroy both AP emplacements, and time the War Horn safely.
- Mission 6 — Siege of Cartagena. Solve chained installations, recover after an Emergency Move, and complete the smoke-assisted breakout.
- Mission 7 — The Gorge. Restart the damaged Nest and rely on manual observed-fire corrections until the pass is clear.
Mid campaign: Missions 8–10
- Mission 8 — Rock of Gibraltar. Locate HMS Rockingham without aerial reconnaissance, respect the 11:08 firing restriction, then optionally intercept the moving vessel.
- Mission 9 — Dead Reckoning. Use Tear rounds to reveal the hidden primary positions, solve a late Field Command correction, then decide whether to continue cleanup after the stand-down message.
- Mission 10 — Fire on Call. Answer live support calls, reposition friendlies with Smoke, and handle Tear-then-H and danger-close shots safely. One recorded request put the enemy roughly 0.25 km from friendly troops, where a precise AP hit was safer than the requested blast.
Late campaign: Missions 11–15
- Mission 11 — High Tide. Manage multiple landing-craft intercepts across both guns and hold the defensive line until relief arrives at 07:14.
- Mission 12 — Blind Fire. Locate four AA batteries through Alpha and Bravo without reconnaissance or shell-impact imagery.
- Mission 13 — Phantom Battery. Recover your own position after movement, hunt a mobile battery, and exploit enemy spotters for 90-second Counter-Battery Timer extensions.
- Mission 14 — Final Harvest. Pre-plan a moving train plus static targets while balancing counter-battery pressure against live support calls.
- Mission 15 — White Shells. The finale changes the question: not which target to hit, but what Iron Nest does with the final order. There are four confirmed endings — A City in Celebration, A City Subdued, The Road Not Taken, and A City Silent. Three routes are triggered by what you fire into Barcelona; The Road Not Taken is a prepared betrayal route that becomes a real combat sequence against your own High Command, and destroying High Command alone is not enough. See the endings guide for the full routes.
Several late missions also allow you to stand down while optional targets remain. Continuing to fire and finishing the required objective stop being the same thing — the campaign guide’s advice is to decide deliberately whether you are pursuing optional cleanup rather than letting leftover red icons decide for you.
Unlocks, medals, and requisition
Playthrough footage of the release version shows a post-mission results screen tracking accuracy, shots fired, kills, and requisition spent. Early missions unlock powder charge purchases, the scout plane, and the AP shell, and punch cards award additional shell types — a HEAT shell, a star shell, and an incendiary shell were observed this way. Requisition then buys ammunition, powder, scout flights, and Position Reports during later operations.
Each mission also carries medal conditions. Observed examples include an ordnance efficiency award for completing a mission with minimum rounds expended, the Austere Service Medal for operating on minimum assets, and medals for sustained kill streaks and low allied casualties. The medals guide tracks the confirmed conditions. Civilian and friendly hits cost requisition — in one recorded run, a destroyed hospital cost 10 requisition and further friendly casualties pushed the mission into a net loss despite a 75-requisition bonus for the supply cache.
After the campaign
Challenge Mode runs on the same firing system with less room for waste: locate before loading, keep firing cards organized, and buy reconnaissance only when it removes real uncertainty. A full-version playthrough describes it as randomly generated with shell-type unlocks. The campaign hub notes there is not yet enough verified scoring data for a complete Challenge Mode meta, so the campaign remains the best preparation — learn to build a correct firing solution quickly, then learn when not to spend another thirty seconds perfecting one.
The mission select also shows standalone scenarios beyond the fifteen-mission arc, including a skirmish on a contested front and a counter-battery engagement with a time restraint. If a specific operation is blocking you, the Mission 2 walkthrough and the triangulation method behind it are the best place to rebuild the habit the whole campaign tests: locate the point first, build the firing solution second.
Frequently asked questions
How many missions does IRON NEST have?
The campaign has 15 missions played in a fixed order, from Calibration Fire to White Shells, plus a separate Challenge Mode alongside the campaign.
How long is the IRON NEST campaign?
One full-version playthrough estimates the campaign at roughly 8 to 12 hours. Individual missions vary from a single calibration shot to multi-phase operations with timers and two-gun management.
Do mission coordinates stay the same between runs?
Not reliably. Guide research notes that exact coordinates, bearings, ranges, and elevations can change between operations, so learn the route that produced a solution rather than copying its numbers.
What is the last mission in IRON NEST?
Mission 15, White Shells. It has four confirmed endings: A City in Celebration, A City Subdued, The Road Not Taken, and A City Silent.