Mission 2 in IRON NEST: Heavy Turret Simulator is Fire and Light, and it is really two operations in one. High Command first orders you to triangulate and destroy an anti-Monarchist element operating inside the city, then assigns a non-combat fire mission: a celebratory Star Shell illumination over the royal palace to mark the general’s peace initiative. It is the first mission built around spotter triangulation rather than a single known coordinate.
A numbering note before anything else: community guides do not all count the campaign the same way. At least one fan field manual labels the Liberation mission as Mission 2, while the campaign hub and release-version playthrough footage place Fire and Light second, after Calibration Fire. This site follows the campaign order — see the full mission list — so this page covers Fire and Light, and Liberation is covered in the Mission 3 walkthrough.
Mission briefing
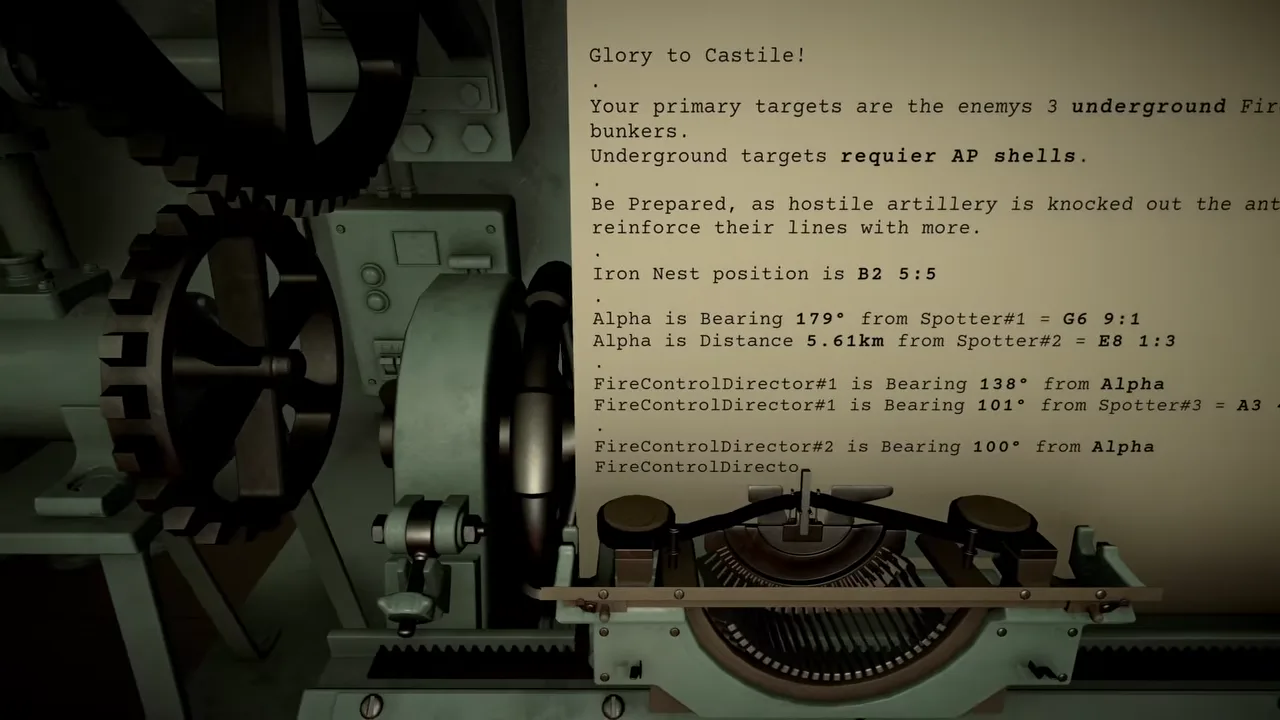
The briefing lands in two parts. Intelligence has identified a hostile element within the city and orders you to triangulate the target, with a note to check the GS and the typewriter for field reports. The opening order also restricts which ordnance may be used — one recorded playthrough transcribes the restriction as “H 2 only,” so read the exact wording in your own briefing before loading anything.
Once the city target is destroyed, the second fire mission is authorized: starbursts over the royal palace, Star Shells only, explicitly a non-combat procedure. There is no timer pressure in the recorded release-version run — the player spends as long as needed on the map work, though earlier builds reportedly introduced a time element at some point. The mission rewards patience: every value below comes from taking the time to measure properly.
Phase 1: triangulate the hostile element
The Iron Nest has not moved since the calibration shot, so confirm its token is still at the coordinate from the previous mission and leave it anchored there. Then place a numbered spotter marker at each reported spotter coordinate and keep every report written beside the spotter it came from — a bearing drawn from the wrong origin is the classic way this mission goes wrong.
For the target itself, draw the reported bearing line from each spotter with the yellow pencil and mark the intersection as the target. In the recorded playthrough, Target One sat at 94° from Spotter One and 38° from Spotter Two; the campaign hub’s clean example of the same mission used 96° and 53°. Both are only examples — guide research notes that exact coordinates, bearings, ranges, and elevations can change between operations, so the reports in your run supply your numbers, never a video’s.
Build and fire the first solution
With the target marked, draw the final measurement line from the Iron Nest token to the target token. That line — not any spotter line — supplies the bearing and range for the ballistic calculator. The recorded run measured 13.03 km, which the calculator converted into an HE solution with three powder charges.
Load the shell and charges, traverse to the recorded bearing, and elevate to the card value — the run used a rotation of 66 and an elevation of 52.12. Before firing, work the onboard confirmation sequence: fire mission confirmed, shell type confirmed, bearing confirmed, elevation confirmed, gun armed. Note that the game builds in real dispersion — the playthrough remarks on a plus-or-minus 0.5° variation on bearings — so “close enough” on the dials is how a city shot lands on something unforgivable.
The follow-up pair
Destroying the first target is not the end of phase one. High Command transmits reconnaissance photos revealing two additional hostile elements and orders both destroyed before you can proceed. Mark both from the photos and solve each one the same way as the first.
If the new targets sit close together, check whether one HE splash area covers both — the recorded run placed a single shell between the two markers and took the pair in one shot, keeping the same 13.03 km range with a fresh bearing of 67.5. Between shots, clear fired cards and stale lines off the map. A cluttered board is how bearings get assigned to the wrong target, and the mission is long enough that confusion compounds.
Phase 2: starburst over the palace
The second fire mission changes both the shell and the success condition. Ordnance is Star Shell only — the parachute-delayed illumination round, which the playthrough notes arrived as an earlier punch-card reward — and the operation is non-combat: fire in the vicinity of the given coordinates until High Command confirms a satisfactory position.
You are not guessing blind. A ground observer marks each impact directly on the recon photos: yellow numbers give distance, and yellow arrows give the direction from the impact point to the target. In the recorded run the first Star Shell landed wide, the observer called a correction of 3.42 km in the marked direction, and the second shell — two charges, bearing 325.3, elevation 34.32 — was confirmed satisfactory. Treat every miss as data and walk the corrections onto the palace.
One caution from the player’s own history: in an earlier playtest he famously fired HE into the illumination phase. The confirmation checklist exists exactly for this — verify the shell type before the gun goes off, because the palace phase will not accept a high-explosive mistake.
Rewards and what comes next
The post-mission debrief tracks accuracy, shots fired, kills, and requisition spent, broken down shell by shell. The recorded run finished Fire and Light at 100% accuracy and earned the ordnance efficiency award for completing the mission with minimum rounds expended, while the in-game newspaper marked the night as “a night of celebration marred by atrocity.” Observed unlocks after this mission include powder charge purchases, the scout plane, and the AP shell — all of which matter immediately, because the next operation authorizes the requisition console.
That next operation is Liberation: the Iron Nest repositions outside an occupied city, and the campaign’s real resource management begins. Continue to the Mission 3 walkthrough when High Command gives the order, and review how to triangulate if the two-bearing method above still feels shaky — the rest of the campaign assumes it is second nature.
Frequently asked questions
What is IRON NEST Mission 2?
Mission 2 is Fire and Light, a two-phase operation: triangulate and destroy a hostile element inside the city, then fire a non-combat Star Shell illumination over the royal palace that a ground observer corrects.
Will Mission 2 coordinates match my game?
Treat any published coordinates, bearings, and elevations as worked examples only. Guide research notes that exact values can change between operations, so the reliable answer is the method: mark the spotters, intersect the bearings, and measure the firing line from your own Iron Nest marker.
Why does my illumination phase keep failing in Fire and Light?
The palace phase accepts Star Shells only, and the ground observer marks each impact on recon photos — yellow numbers give distance, yellow arrows give the direction from impact to target. Apply that correction to the next shell and repeat until High Command confirms the position is satisfactory.