
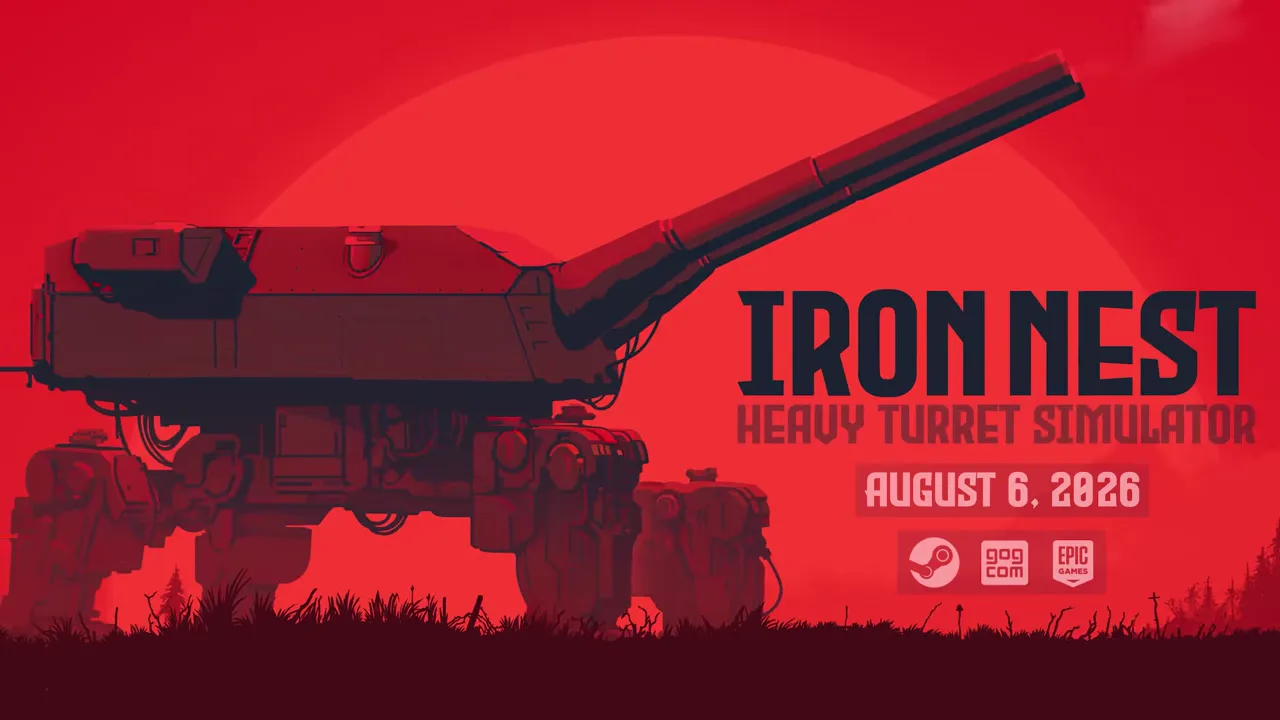
Mission 3 of IRON NEST: Heavy Turret Simulator — the operation called Liberation, the third in the demo — orders you to destroy five hostile infantry units inside a designated urban sector. Only three of the five are confirmed when the order arrives; the rest must be located through triangulation, reconnaissance, or STAR shells before they can be engaged.
Liberation expands the firing process from the first two missions into resource and multi-target management: a repositioned Iron Nest, a requisition console for ammunition and power charges, independent left and right guns, and the constant risk of civilians near your targets. The walkthrough below follows the procedure that reliably clears the sector.
Mission briefing and objectives
The operation plays out in the area around Ciudad Real, and the order from High Command states that the city is to be cleared of hostile elements — specifically, five hostile infantry units within the designated urban sector. The same message authorizes the requisition console for ammunition and power charge procurement at your discretion, which means supply decisions, and their credit cost, are now your responsibility.
Three infantry positions are confirmed at the start, while the fourth and fifth are not. Community databases that preserve the briefing warn that target placement and reconnaissance results can vary between runs, so treat any published coordinates — including the ones quoted below from a recorded playthrough — as examples of the method, not fixed answers.
Update the Iron Nest position first
The most common way to fail Liberation is to measure from the wrong origin. The Iron Nest has been repositioned when the mission begins, and High Command supplies the new coordinate. Move the Iron Nest token to that position before measuring anything, because bearings, ranges, and elevations taken from the old position will all be wrong.
In the recorded run, the player marked the turret at grid E6 (E653) and placed the spotter markers — one of them at K935 — before working out targets. Your coordinates will differ; the procedure does not. Confirm the current firing origin first, then measure every final firing line from it.
Mark and triangulate the infantry
Mark the three confirmed infantry positions as reported. For the unconfirmed targets, use the triangulation tool: take the distance reported from each of two spotters and find where the two ranges intersect. In the recorded run, the last infantry sat 5.22 km from spotter three and 10.28 km from spotter one, which left a single plausible intersection to mark as the third infantry position.
Two other targets in that run were fixed from spotter bearings alone — infantry two at 219 and 270, and the first infantry at 252 and 279 from spotter one — which is faster than range intersection when the incoming data is clean. Once all five targets are marked, switch markers and draw fire lines toward each one. The player in that run suspected civilians inside the sector — a suspicion every later shell choice has to respect. If the two-bearing method itself is still shaky, review how to triangulate before spending credits on shells.
Requisition and shell choice
Liberation is where purchasing discipline starts to matter. Read the newest orders and shell restrictions before buying, and solve the intelligence problem before spending: there is no reason to stockpile the most powerful shell for targets you have not even located yet. A reliable sequence is to mark every target plus any friendly or civilian units, check effect radii, and only then buy the ammunition and charges the plan actually needs. That restraint also supports the Austere Service medal.
Shell selection follows the effect radius, which you can check with the Iris. AP supports precise fire close to friendly units or possible civilians. HE and HCHE handle groups but carry much greater collateral risk — the recorded run deliberately avoided HE near unconfirmed civilians because of the size of the explosion. STAR can reveal targets at relatively low cost. The run requisitioned three AP shells and used the console’s option to pick which magazine — left or right gun — received the load. See shell types for the full ammunition breakdown.
Firing solutions on multiple targets
With shells chambered and the gun armed, work the targets one at a time. Measure the distance to each target from your current position — the recorded run read 6.3, 7.5, and 8.45 km for its first three — and convert range plus charge selection into elevation. That run needed only two power charges per shot; yours may differ.
Set bearing and elevation for each target in turn. The console lets you choose what target data is displayed; the player in the recorded run simplified the readout to avoid confusing bearings between targets, and closed the vents briefly to see the instruments more clearly. The run’s first solution was bearing 275.6 with elevation 37.8, and the second target sat at bearing 264.8. Fire, then check the result before touching anything else. A near miss is corrected with a small elevation change — the first target fell after a slight elevation increase while the bearing stayed almost identical. Preparing the next target’s data while the gun cycles keeps the rhythm steady.
The recon plane and the last targets
Mid-mission, a recon plane requisition card is issued with instructions to present it at the requisition console. In the recorded run the card cost about 20 credits and ordered a reconnaissance flight over grid P4, with a STAR shell fired into the area first on a fresh bearing at 7.1 km.
The exact interaction between the flight and the STAR shell is not fully settled: the player in that run believed the plane revealed the enemy position directly, but admitted nothing obvious appeared on the map and suspected the order of operations might matter. The safe approach is the standard method — reveal the target with reconnaissance or STAR, measure the final line from the current origin, and verify the loaded and armed state of both guns before firing. The last infantry was destroyed with an AP shell.
Clearing the sector
When the fifth infantry is destroyed, High Command confirms the sector is cleared, announces that the garrison will consolidate from that point, and orders you to stand down, signing off with “Glory to the castle.” The recorded run saw no end screen afterward — possibly a demo limitation or a bug.
The reusable lesson of Liberation is order of operations. Update the firing origin, solve the intelligence picture, buy only what that picture requires, and re-derive a firing solution from every new reconnaissance image or correction report. Build those habits here and the later operations become a matter of scale, not surprise.
Frequently asked questions
What is the objective of IRON NEST mission 3?
Liberation orders you to destroy five hostile infantry units inside a designated urban sector. Only three are confirmed at the start; the rest must be located by triangulation, reconnaissance, or STAR shells.
Why do my shots keep missing in Liberation?
The Iron Nest has been repositioned when the mission begins. Update the token to the new coordinate from High Command before measuring, or every bearing, range, and elevation will be wrong.
Which shell should I use in mission 3?
AP supports precise fire near friendly units or possible civilians, HE and HCHE handle groups with greater collateral risk, and STAR reveals targets at relatively low cost.
Will mission 3 coordinates match my game?
Not necessarily. Community databases note that target placement and reconnaissance results can vary, so treat published coordinates as examples and measure from your current Iron Nest position.