To triangulate in IRON NEST, plot each spotter report on the tactical map as a line or a circle drawn from the correct source point, then mark the intersection as your target. The game supports three forms of intersection plotting: two bearing lines, two distance circles, or one bearing line combined with one distance circle. Once a target token sits on the intersection, you draw a fresh line from the Iron Nest itself to produce the firing data.
One rule decides whether the whole solution works: origin discipline. A bearing reported by a Spotter must not be drawn from the Iron Nest, and a distance circle must be centered on the observer that measured it. Get the source points right and the geometry does the rest.
The Three Ways to Triangulate
Triangulation in IRON NEST is intersection plotting on the tactical map. Every report from a spotter gives you one geometric object, and two objects crossing produce a candidate target position. The three workable combinations are:
- Two bearing lines — two observers each report a direction to the same target, and the lines cross at one point.
- Two distance circles — two observers each report only how far away the target is, and the circles cross at up to two candidate points.
- One bearing and one distance — a mixed report where one observer supplies direction and another supplies range.
All three end the same way: a target token placed on the confirmed intersection, followed by a fire-control step measured from the Iron Nest.
Fix Every Report to Its Source Point
Before drawing anything, associate each report with the correct source point on the map. If a Spotter reported the bearing, that line starts at the Spotter’s position — never at the Iron Nest. If a report gives a distance, the circle is centered on the named source point for that report, placed on the correct sub-cell.
Place both Spotters precisely before you draw from them. A token sitting a little off its true position shifts every line and circle you base on it, and the intersection drifts with it. This is also the moment to confirm the Iron Nest’s own position — after an Emergency Move, the firing-origin token has changed, and the final step of the solve is anchored to it.
Triangulate with Two Bearings
Two-bearing triangulation is the cleanest case because two straight lines meet at exactly one point:
- Place both Spotters precisely on the tactical map.
- From Spotter 1, draw a long line at its reported angle. Extend it far enough that it can actually meet the second line.
- From Spotter 2, draw the second line at its reported angle, again extending it well past the suspected target area.
- Place a target token where the two lines intersect.
If the lines fail to cross, one of the lines is drawn from the wrong origin or at the wrong angle — recheck which Spotter reported which bearing before touching anything else.
Triangulate with Two Distance Circles
Distance-only reports produce circles instead of lines:
- Set the drawing compass to the first reported distance.
- Place the compass point on the named source point for that report and draw the circle.
- Repeat with the second report, centered on its own source point.
- Read the intersections of the two circles as your target candidates.
Two circles usually cross twice, leaving two candidate positions. Use terrain or a third piece of intelligence to reject the wrong intersection. If both candidates still look valid after that, treat the target as unconfirmed and seek a third report rather than guessing.
Solve a Mixed Bearing and Distance Report
A mixed report combines one direction and one range. Start by confirming the Iron Nest position, especially after an Emergency Move. Draw the reported direction from the observer who supplied it as a long line, then draw the distance circle from the other observer — one published walkthrough uses a 9.57 km circle as its example — and select the line-circle intersection as the target candidate. Place a red target pin on that point.
The line-circle crossing can also produce more than one candidate, so the same rule applies: when two intersections remain valid, look for a third report to break the tie.
Convert the Plot into a Firing Solution
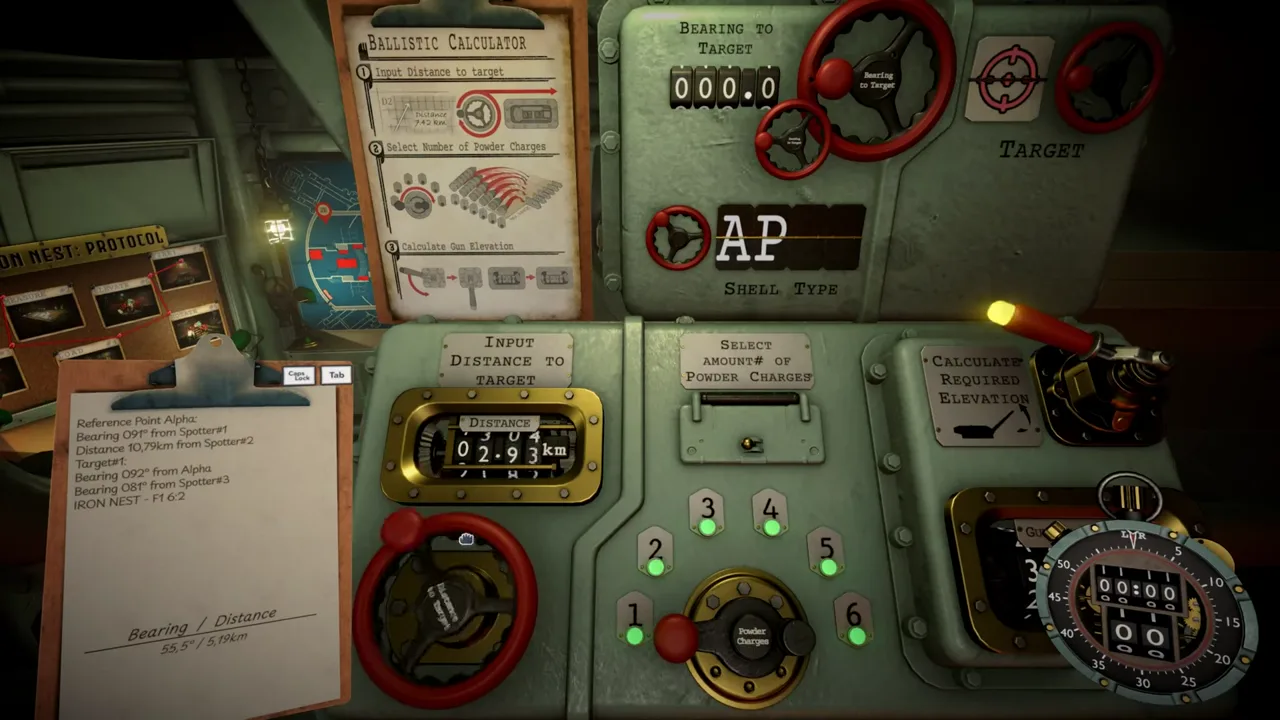
The final step of triangulation is not target location but fire control. Draw a new line from the current Iron Nest token to the confirmed target token and take your firing data from that line. Spotter-to-target bearings and distances cannot be entered directly as turret and ballistic data — everything the gun uses must be measured from the Iron Nest itself.
If you need a refresher on reading angles off the map, see how to calculate bearing, and for measuring the range along your new line, how to calculate distance. With bearing and distance in hand, the ballistic calculator turns them into an elevation for the gun.
Field Checklist for Clean Triangulation
Run this checklist on every solve:
- Verify the firing-origin token before every solve — know exactly where the Iron Nest sits right now.
- Use yellow or white for construction lines and red for final fire data, so working geometry never gets confused with a live solution.
- Extend lines far enough to intersect instead of stopping short.
- Center every circle on the correct sub-cell of its source point.
- Seek a third report when two intersections remain valid.
- Discard the previous solution whenever the target or the Iron Nest relocates, and plot a fresh one.
Triangulation rewards patience. A careful plot from correctly placed source points puts the target token where it belongs, and the redrawn line from the Iron Nest turns that token into data the turret can actually fire on.
Frequently asked questions
Can I draw a spotter's bearing from the Iron Nest?
No. A bearing reported by a Spotter must not be drawn from the Iron Nest. Draw it from the spotter's own position, or the intersection will land in the wrong place.
What if two distance circles give me two intersections?
Use terrain or a third piece of intelligence to reject the wrong candidate. If both intersections remain valid, seek a third report before committing to a target.
Can spotter-to-target values go straight into the turret?
No. Spotter-to-target bearings and distances cannot be entered directly as turret and ballistic data. Draw a new line from the current Iron Nest token to the confirmed target token and measure that instead.