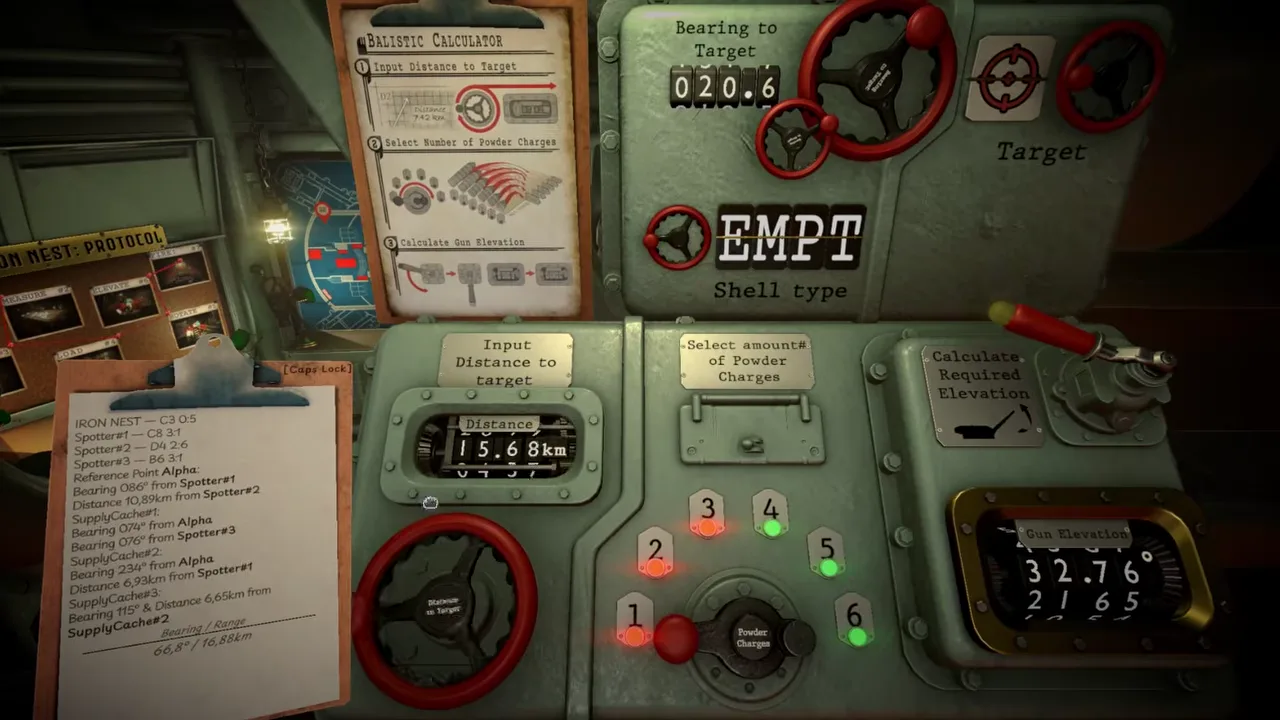
To calculate a bearing in IRON NEST, place the Iron Nest token at its exact current sub-cell on the Tactical Map, draw a line from that point to the target token, and read the angle the map shows while you draw. The line tool displays the bearing directly, and the value is also stored on the Clipboard, so manual trigonometry is normally unnecessary.
That single angle is what turns the turret onto the target. Get the origin point wrong, copy the wrong value, or confuse it with a bearing from a Spotter report, and every later step of the firing solution inherits the error. The sections below cover what a bearing is, how to read one off the map, and the mistakes that most often ruin a shot.
What a Bearing Is in IRON NEST
Bearing is the horizontal direction applied to turret rotation. It answers one question: which way, around the compass, does the gun need to face. The game follows the standard compass convention, so 0° or 360° is north, 90° is east, 180° is south and 270° is west.
Bearing is only one of four values in the firing workflow, and the game keeps them separate. Bearing comes from the Iron Nest-to-target line and controls turret rotation. Range comes from that same line and feeds the ballistic calculator. Powder charges are a loading choice, and elevation is calculated from range and charges to set the vertical gun angle.
Because all four values hang on the same drawn line, the bearing is only trustworthy when the line itself is drawn correctly: right origin, right destination, right sub-cell.
How to Calculate a Bearing on the Tactical Map
The Tactical Map does the math for you. The line tool displays the bearing while you draw, so the whole procedure is three steps.
- Place the Iron Nest token at its exact current sub-cell. Do not start from the center of a large grid square — start from the sub-cell the gun actually occupies.
- Draw a line from that point to the target token.
- Read the angle shown by the map while drawing, or copy the value stored on the Clipboard.
The same line also produces the range to the target, which is covered in the companion guide on how to calculate distance. Measure both from one clean line and keep the pair together.
One practical habit follows from how the Clipboard works. If you keep several red lines on the map, the Clipboard holds several entries, and it is easy to copy the wrong one. Clear old lines before you draw the shot you actually intend to fire.
Spotter Bearings vs Turret Bearings
A bearing that arrives in a Spotter report is not a turret setting. Its job is to help you locate the target, and it only makes sense when measured from the Spotter’s position. A bearing in a Spotter report must begin at that Spotter.
Once the target is plotted, the final turret bearing must be measured again from the Iron Nest. The two bearings will usually be different even when they point toward the same target, because each one is anchored to a different origin on the map. Using the Spotter-to-target bearing as the turret angle is listed among the common errors, and it will swing the gun off the mark.
If you regularly work from Spotter reports, the triangulation guide covers how to fix a target’s position from report information before you measure anything for the gun.
Common Bearing Errors
The measurement itself is simple, so almost every bad bearing comes from process rather than math. The reported common errors are:
- Drawing from an outdated Iron Nest position. The bearing describes the line from where the gun is now. If the token position is stale, the angle is stale.
- Using a Spotter-to-target bearing as the turret angle. Re-measure from the Iron Nest every time.
- Starting at the center of a large grid square instead of the correct sub-cell. The origin must be the exact current sub-cell.
- Retaining several red lines and copying the wrong Clipboard entry. One target, one line, one Clipboard value.
- Rotating almost a full circle between 359° and 1° instead of taking the shortest direction. The compass wraps at north, so traverse the short way across 0°.
Verify the Bearing Before Firing
Before firing, verify target, bearing, range, charges and elevation as one matched set. A correct bearing paired with the wrong range, or an elevation worked out for different charges, still misses, because each value in the workflow depends on the others.
Run the checks in order. Confirm the target token is the target you mean to hit. Confirm the bearing was measured from the Iron Nest’s current sub-cell. Confirm the range came off the same line and went into the ballistic calculator unchanged, that the powder charges are the intended loading choice, and that the elevation was calculated from that range and those charges.
When all five values agree, the bearing you read off the Tactical Map will put the gun on the target, which is the entire job of the number.
Frequently asked questions
Do you need trigonometry to calculate a bearing in IRON NEST?
No. The Tactical Map line tool displays the bearing while you draw from the Iron Nest token to the target token, and the angle is also stored on the Clipboard.
Why does a Spotter bearing differ from the turret bearing?
A bearing in a Spotter report begins at that Spotter and is used to locate the target. The final turret bearing must be measured again from the Iron Nest, so the two values are usually different even when they point at the same target.
What do the bearing numbers mean on the compass?
The direction convention follows a compass: 0° or 360° is north, 90° is east, 180° is south and 270° is west.